
Quick start: sell in a second currency in 10 minutes
This guide takes you from a freshly installed plugin to a real test order in a second currency. It follows one example the whole way: a store that sells in USD and wants to sell in EUR too. Swap in your own currencies as you go. Most steps keep the default settings, so ten minutes is enough, and you can fine-tune everything later.
Before you begin#
- WC Currency Switch is installed and activated (see Installing WC Currency Switch).
- WooCommerce has at least one product and one payment method turned on, so you can place a test order.
- All settings are on WooCommerce > Currency Switch. Changes on the tabs are saved together with the Save Changes button at the bottom of the page.
Step by step#
1. Check your default currency#
Open the General tab and look at Default Currency. It should show your store currency, the one you enter product prices in (USD in our example). The plugin set it from WooCommerce when you activated it, so you normally leave it alone.
Changing Default Currency also changes your WooCommerce store currency, but it does not convert your existing product prices. Only change it if it is wrong.
2. Choose your currencies#
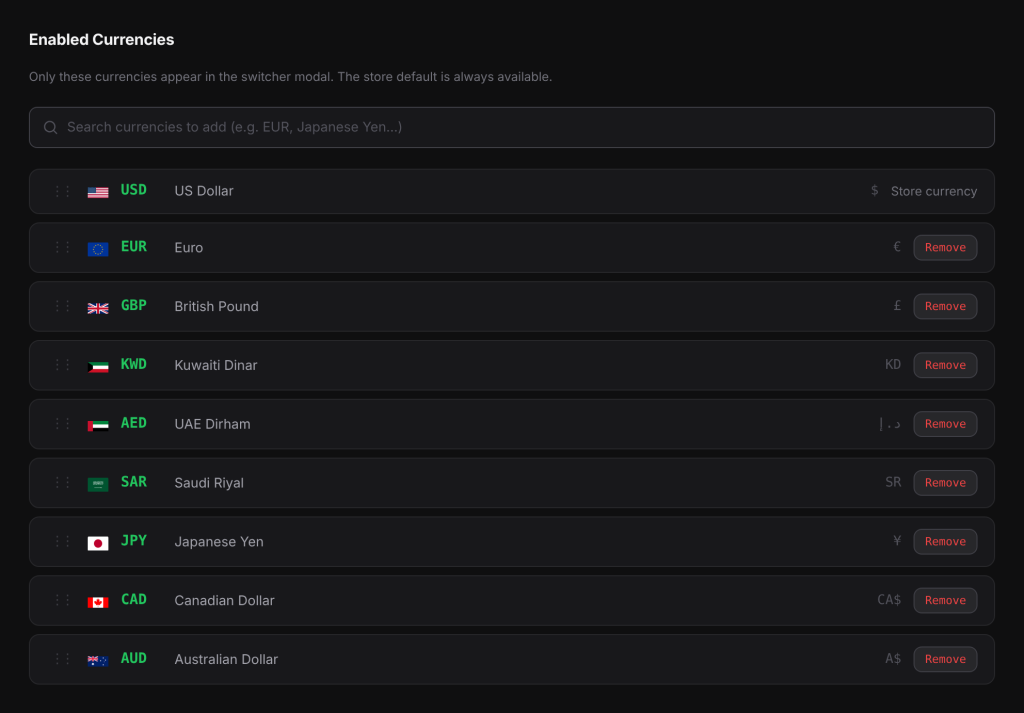
- Open the Currencies tab.
- Type a code or name in the search box, for example
EUR, and pick it from the list. - Click Remove next to any currency you do not want. The plugin turns on USD, EUR, GBP, JPY and CAD at first, so you may only need to remove a few. Your store currency shows a Store currency label instead of a Remove button, because it is always available.
- Drag the rows to set the order shoppers see in the switcher.
3. Get exchange rates#
- Open the Rate Provider tab.
- Keep Frankfurter (European Central Bank rates, no key needed), or pick another provider and paste its key into API Key.
- Click Save Changes, then click Force Refresh. You should see “Refreshed:” followed by the number of currencies.
- Reload the page and look at the Rate History table. It shows what 1 unit of your store currency was worth in each enabled currency. A dash means the provider sent no rate for that currency.
If a currency you need has no rate, pick a provider that covers it or set a Fixed Exchange Rate for it on the Pricing tab.
4. Check geo detection#
Open the Geo Detection tab. The default Detection source is CDN header, which reads the visitor’s country from your CDN (content delivery network) such as Bunny, Cloudflare, CloudFront, Vercel or Fastly, with WooCommerce Geolocation as the fallback.
- If your site runs behind one of those CDNs, keep the default.
- If it does not, pick WooCommerce Geolocation (it needs a MaxMind license key in WooCommerce settings) or freeipapi.com (the free plan needs no key).
5. Set prices that look right (optional)#
Open the Pricing tab and click a currency to expand it. Two settings matter most at the start:
- Conversion Fee %: a percentage added on top of the converted price, for example to cover card or bank fees.
- Rounding Type and Rounding Target: round prices to a tidy ending such as .99.
6. Check payment methods#
Open the Payments tab and expand each currency. With Use store defaults on, every enabled WooCommerce payment method shows. If a payment method cannot take a currency, turn Use store defaults off and switch that method off for that currency.
7. Add the currency switcher#
Pick one way:
- Shortcode: place
[wccs_switcher]in your header, a widget or a page builder element. The Shortcode tab has a generator with a live preview and a Copy button if you want to style it. - Menu: on the Nav Menu tab, turn on Enable nav menu switcher, then tick the Theme locations or Menus it should appear in.
Click Save Changes. You see Settings saved.
8. Place a test order#
- Open your shop in a private (incognito) window, so you start like a new visitor with no currency cookie.
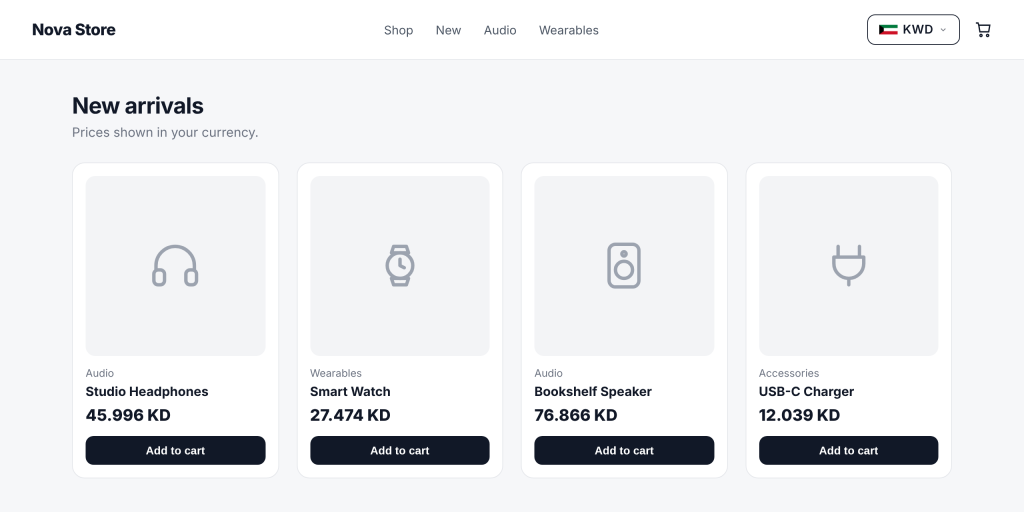
- Use the switcher to pick EUR. The page reloads with prices in EUR.
- Add a product to the cart and go through checkout with a test payment.
- In WordPress, open the order. The Currency Info box shows the Order currency, the Store base currency and the Rate at order, for example
1 USD = 0.92000 EUR.
Examples#
Your product costs $25.00. The EUR rate is, say, 0.92, and on the Pricing tab you set EUR to a 2% Conversion Fee %, Rounding Type Round Up and Rounding Target .99:
- Rate: 25.00 x 0.92 = 23.00
- Fee: 23.00 x 1.02 = 23.46
- Round up to .99: 23.99
A shopper browsing in EUR pays €23.99.
Good to know#
- Switching mode: the default, Reload, reloads the page after a switch and works everywhere. Instant swaps prices without a reload but is in beta. You find it under General > Switching Mode.
- Page cache: if you use a cache plugin, pick it under Integrations > Cache Plugins and save, then clear your page cache and CDN cache.
- Cookie banners: mark the currency cookie (
wccs_currency) as functional or necessary in your consent tool, or the shopper’s choice is forgotten. - Testing from your own browser: once you pick a currency, your browser remembers it. Use a new private window each time you want to test first-visit detection.
Related docs#
- Adding, removing and ordering currencies
- Choosing an exchange rate provider
- Price rounding and conversion fees
- Payment methods per currency